前言
相信很多人都有搭建个人网站的需求,可能是想写自己的博文,传达一些思想给社区。也有可能你是一名科研工作者,需要搭建个人学术主页展示科研成果。我也或多或少出于以上原因,选择搭建了个人网站,搭建过程中出现了许多问题,因此记录和分享,避免下次踩坑。Anyway,本文记录使用搭建个人博客的全过程,包括网站工具 Hugo 的介绍和使用设置,以及如何将个人网站发布在免费托管平台,也就是 GitHub Pages 上。
我选择 Hugo 的原因主要有三点:
- 简单易用;
- Hugo 能够快速地构建个人网站;
- 拥有丰富的主题,可供挑选 Hugo Themes;
选择 GitHub Pages 的原因就更简单了,免费又好用。
Hugo 的安装和使用
Hugo 宣传号称是世界上最快构建网站的框架,也是最流行的静态网站生成工具之一。
安装 Hugo
由于我的操作系统是 MacOs 因此安装起来特别简单:
| |
其他平台可参考 Hugo Install。
创建个人网站
| |
使用 Hugo 主题
我使用的是 jane, 将主题 clone 到 theme 目录下:
| |
使用示例文本和默认的站点设置:
| |
启动 Hugo 服务器,在 http://localhost:1313/ 将会看到示例 jane 主题的示例网站:
| |
个人配置和网站生成
配置文件在网站根目录 quickstart 下 config.toml , 根据自身需求进行修改。在 jane 主题下的 exampleSite 文件夹中的文件可作为参考。默认的文章将存储在 ./content/post 中,每当写完文章,运行 hugo 命令,Hugo 将自动生成静态网站到 public 文件夹中,我们只需要将该文件夹的内容发布在网络上即可。
更多关于主题的配置可以参考 jane README.md。
GitHub Pages
我个人经常使用 GitHub,也见到很多大佬利用 GitHub pages 挂载自己的个人网站,发现配置起来也很简单,因此选择使用 GitHub pages 来进行配置,关于 GitHub pages 可以查看官网,主要包括四个步骤:
创建一个与
username同名的 空username.github.io仓库,不包含任何内容,如readme.md=,比如我的用户名为 =kinredon, 因此我创建了一个仓库,名为kinredon.github.io;克隆仓库到本地
1git clone https://github.com/kinredon/kinredon.github.io添加个人网站内容到该仓库
1 2# copy 生成的网站内容到仓库文件夹下 cp -rf quickstart/public/* kinredon.github.io/将文件内容同步更新到 GitHub 服务器上
1 2 3 4cd kinredon.github.io git add . git commit -m "init the website" git push此时,通过进入 https://kinredon.github.io 即可访问自己的个人网站。
上面的步骤略显麻烦,每次需要将生成在 public 文件夹下的目录拷贝到 kinredon.github.io 目录下,然后发布到远程服务器。根据 Host on GitHub,发布到 GitHub Pages 有两种方式, 一种是直接使用仓库目录下的 doc 目录作为原本 public 目录,详情可以参考 hugo 博客搭建。我采用的方式是利用 GitHub Action 自动完成上述过程。
使用 GitHub Action 自动发布文章
这里主要参考 搭建个人blog, 使用 master 分支发布文章,使用一个新的 source 分支进行写作,写作完成后上传 source ,GitHub Action 自动将 source 分支的 publish 文件夹拷贝到 master 分支,从而完成文章的发布。
主要步骤如下:
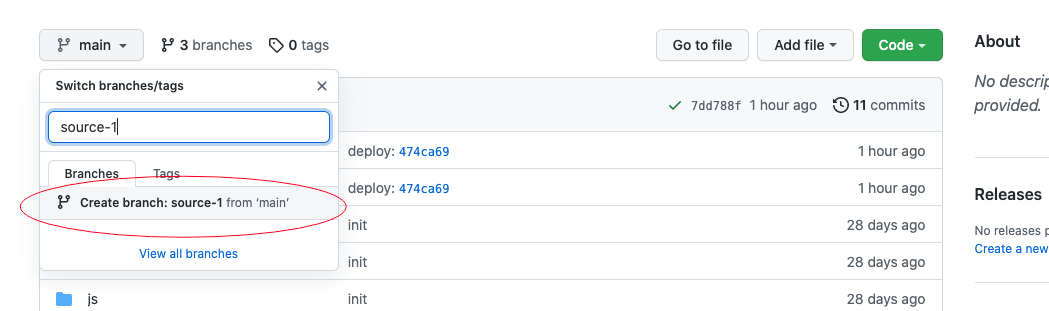
在 GitHub 上的个人网站仓库
kinredon.github.io新建source分支清除文件夹
kinredon.github.io中的内容,并将个人网站quickstart中的所有内容 copy 到kinredon.github.io:1 2 3git clone --branch=source https://github.com/kinredon/kinredon.github.io.git rm -rf kinredon.github.io/* cp -rf quickstart/* kinredon.github.io生成
ACTIONS_DEPLOY_KEY1ssh-keygen -t rsa -b 4096 -C "$(git config user.email)" -f gh-pages -N ""将生成的私钥文件
gh-pages(注意不是公钥gh-pages.pub) 中的内容复制填写到 GitHub 仓库设置中,即在kinredon.github.io项目主页中,找到 Repository Settings -> Secrets -> 添加这个私钥的内容并命名为ACTIONS_DEPLOY_KEY。 然后在kinredon.github.io项目主页中,找到 Repository Settings -> Deploy Keys -> 添加这个公钥的内容,命名为ACTIONS_DEPLOY_KEY,并勾选 Allow write access。配置 workflow
创建 workflow 文件
1 2mkdir -p .github/workflows/ touch .github/workflows/main.yml在
main.yaml中撰写 workflow,内容如下:1 2 3 4 5 6 7 8 9 10 11 12 13 14 15 16 17 18 19 20 21 22 23 24 25 26 27 28 29 30 31 32 33 34 35name: github pages on: push: branches: - source jobs: build-deploy: runs-on: ubuntu-18.04 steps: - uses: actions/checkout@master - name: Checkout submodules shell: bash run: | auth_header="$(git config --local --get http.https://github.com/.extraheader)" git submodule sync --recursive git -c "http.extraheader=$auth_header" -c protocol.version=2 submodule update --init --force --recursive --depth=1 - name: Setup Hugo uses: peaceiris/actions-hugo@v2 with: hugo-version: 'latest' extended: true - name: Build run: hugo --gc --minify --cleanDestinationDir - name: Deploy uses: peaceiris/actions-gh-pages@v3 with: deploy_key: ${{ secrets.ACTIONS_DEPLOY_KEY }} publish_dir: ./public publish_branch: main注意,如果你的仓库是
master分支作为主分支,将publish_branch后面的main修改为master;将 source 分支发送到远程
发送脚本
deploy.sh:1 2 3 4#!/bin/bash git add . git commit -m "update article" git push推送到远程分支:
1sh deploy.sh推送成功后,可以在项目主页中的 action 里面查看自动部署是否成功,即 https://github.com/kinredon/kinredon.github.io/actions;